
Advertisement
Monthly Tip
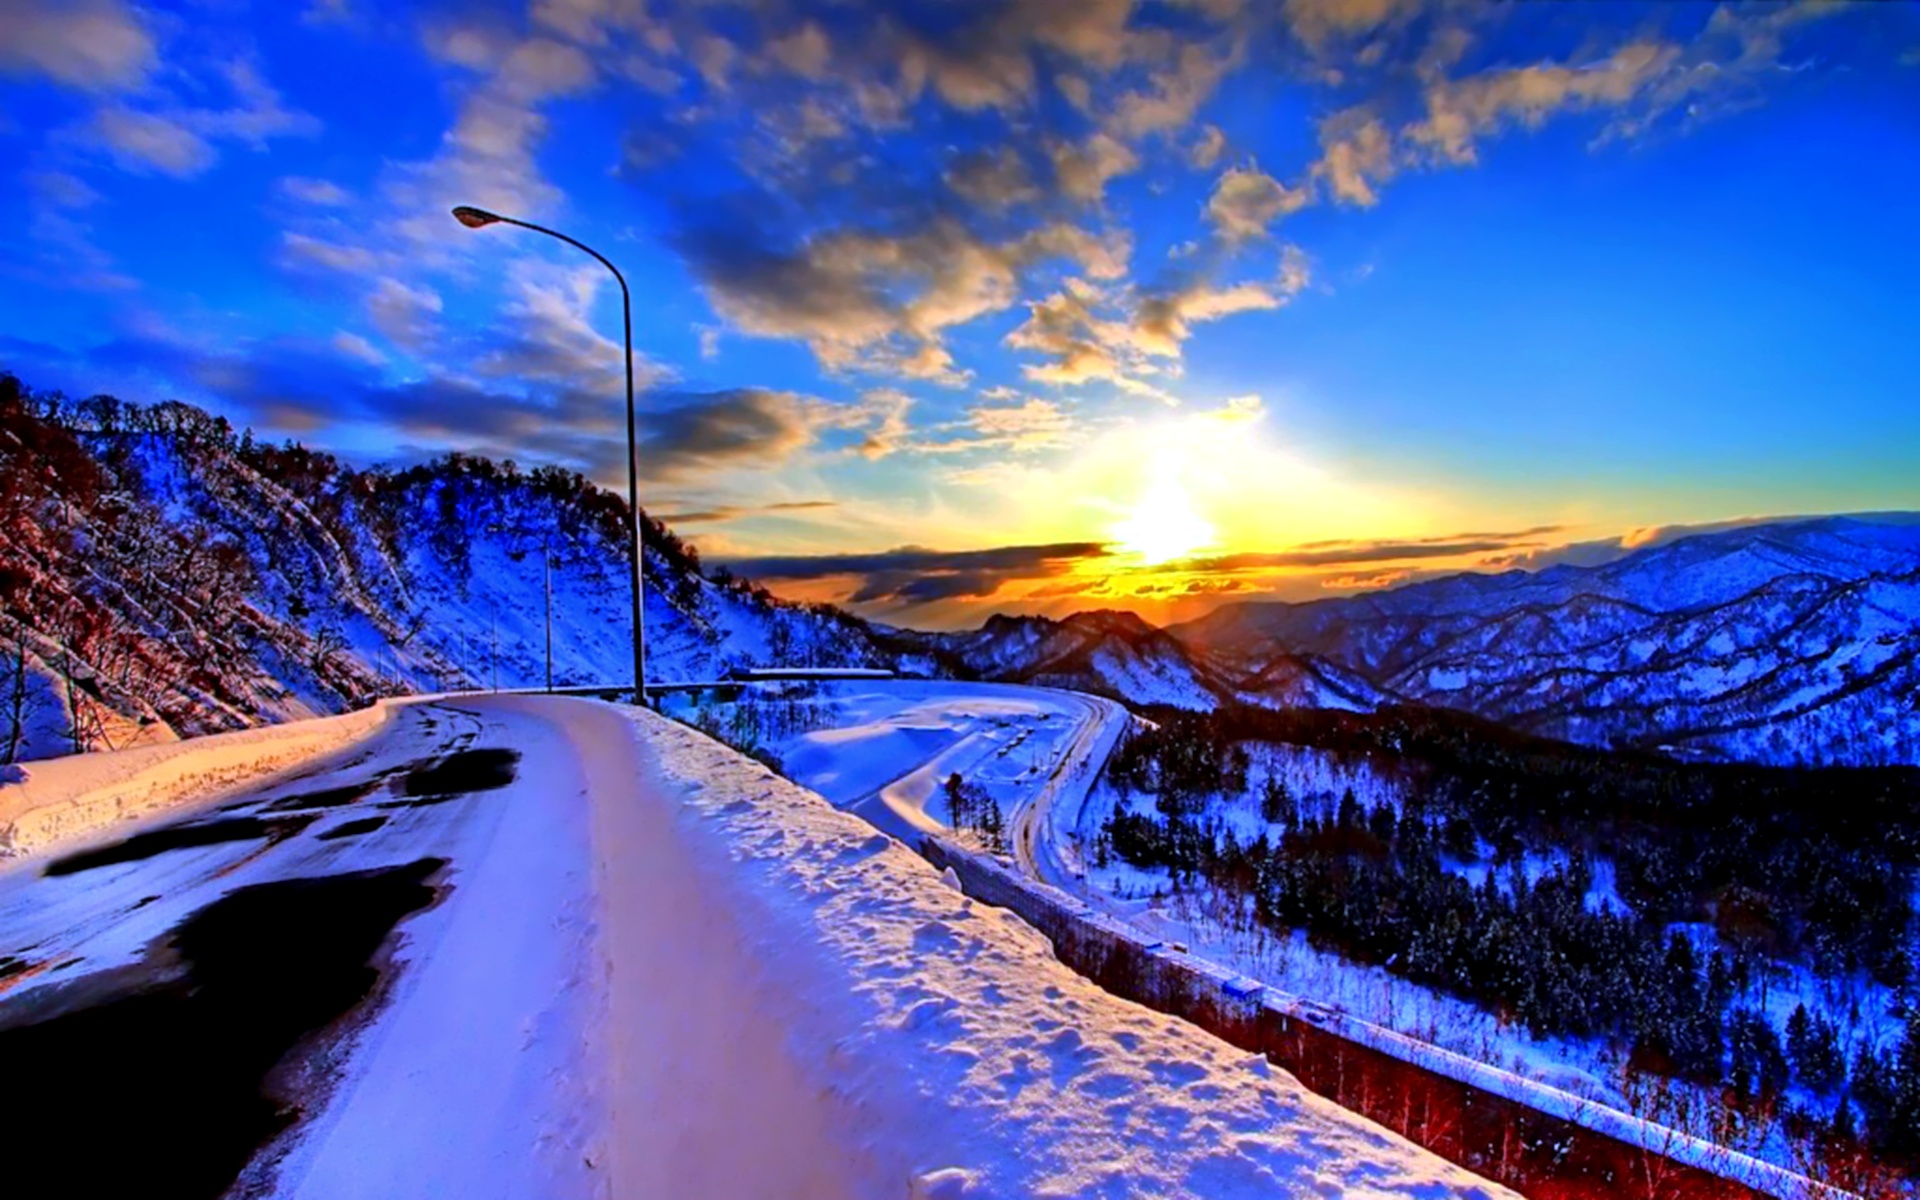
Figure out the composition that you are interested in capturing. The most interesting part of the photograph is the composition and how you decide to frame the element. If you forget about everything that we've mentioned, always remember the rule of thirds. Basically, your composition will be broken down into squares, nine to be exact and they will all be of even proportion. Now, align the subject in your photograph along the lines or coordinates and try to divide the image in sections. This technique will give you a visually stimulating and dramatic photo and the image won't be dead center in the image. Most DSLR's (Digital Single Lens Reflex) will come equipped with the grid and it can be previewed in the previewer.
Readers Poll
Thanks for participating! Here are the results:
Manual vs. Automatic Mode
Today’s tip, AUTOMATIC or MANUAL. Which one? There’s nothing more frustrating that getting that new camera, putting it through the paces and you realize you’ve got a MONSTER on your hands. That new camera is doing things you can’t quite figure out, but after playing with it for a while, you realize it seems to do a better job in the AUTO mode. Manual? Which mode is the best one?
The AUTO and the MANUAL, well they’re actually settings are for EXPOSURE. They tell the camera how YOU want it to set how much light it allows in the camera as you take the picture, whether you are setting it yourself, or whether you want the camera to figure it out. Manual mode means that you set the exposure MANUALLY, so let’s say your light meter is calling for an exposure of f-8 at a 60th of a second. Set it manually, and it will take all the pictures at THAT setting. No matter how the subject matter changes, you’re always getting the same exposure. The result? All your pictures look the same. But remember, if the intensity of the light changes, then you have to change the MANUAL exposure setting as well.
Now if we’re in the AUTO mode, here the camera’s internal light meter is constantly changing the camera’s exposure setting as it sees differences in light intensity and differences in the subject matter. Normally, cameras’ AUTO setting can be set for A for aperture priority, or S for shutter priority. In the Aperture priority mode, you set the aperture, say at f-8 and the camera stays at that aperture, and it changes the shutter speed to match the changes it reads in exposure, from a 60th up to a 90th and down to a 45th, as the light meter senses changes. On the other hand, in the Shutter priority mode, you set the shutter speed at say, a 60th of a second, and as the exposure requirement changes, the camera automatically changes the aperture with each shot to meet the demands of the scene.

Smart Phone Photography
Phone photography has become the newest form of photography due to the technology advancements in cameras. There will always be moments where we have pictures that are too dark or too blurry, which means that you should take an additional 5-10 shots. Here is a list of tips that will guide you to creating better images.
- Use natural light sources — try not to use the camera light because it will in most cases wash out your subject.
- Avoid direct sunlight - If your subject is a person, they’ll look squinty and uncomfortable. An overcast day is best for photos. If it is a bright and sunny day, use the hours of sunrise and sunset for your pictures.
- Stabilize your phone — put your arm on any flat, stable surface you can find to make sure the photo isn’t blurry. Also, there are phone tri-pods to help you stabilize the photo.
- Don't zoom — it will compromise the quality of the photo and make the image very pixelated.
- Download an app - Instagram and Cameras are the most popular, but Snapseed, Pocketbooth, Photoshop Touch, and Square Camera are great, too!
Shoot in Raw Camera Mode
A camera raw image file contains minimally processed data from the image sensor of either a digital camera, image scanner, or motion picture film scanner. Raw files are named so because they are not yet processed and therefore are not ready to be printed or edited with a bitmap graphics editor. Normally, the image is processed by a raw converter in a wide-gamut internal colorspace where precise adjustments can be made before conversion to a "positive" file format such as TIFF or JPEG for storage, printing, or further manipulation, which often encodes the image in a device-dependent colorspace. There are dozens if not hundreds of raw formats in use by different models of digital equipment (like cameras or film scanners).
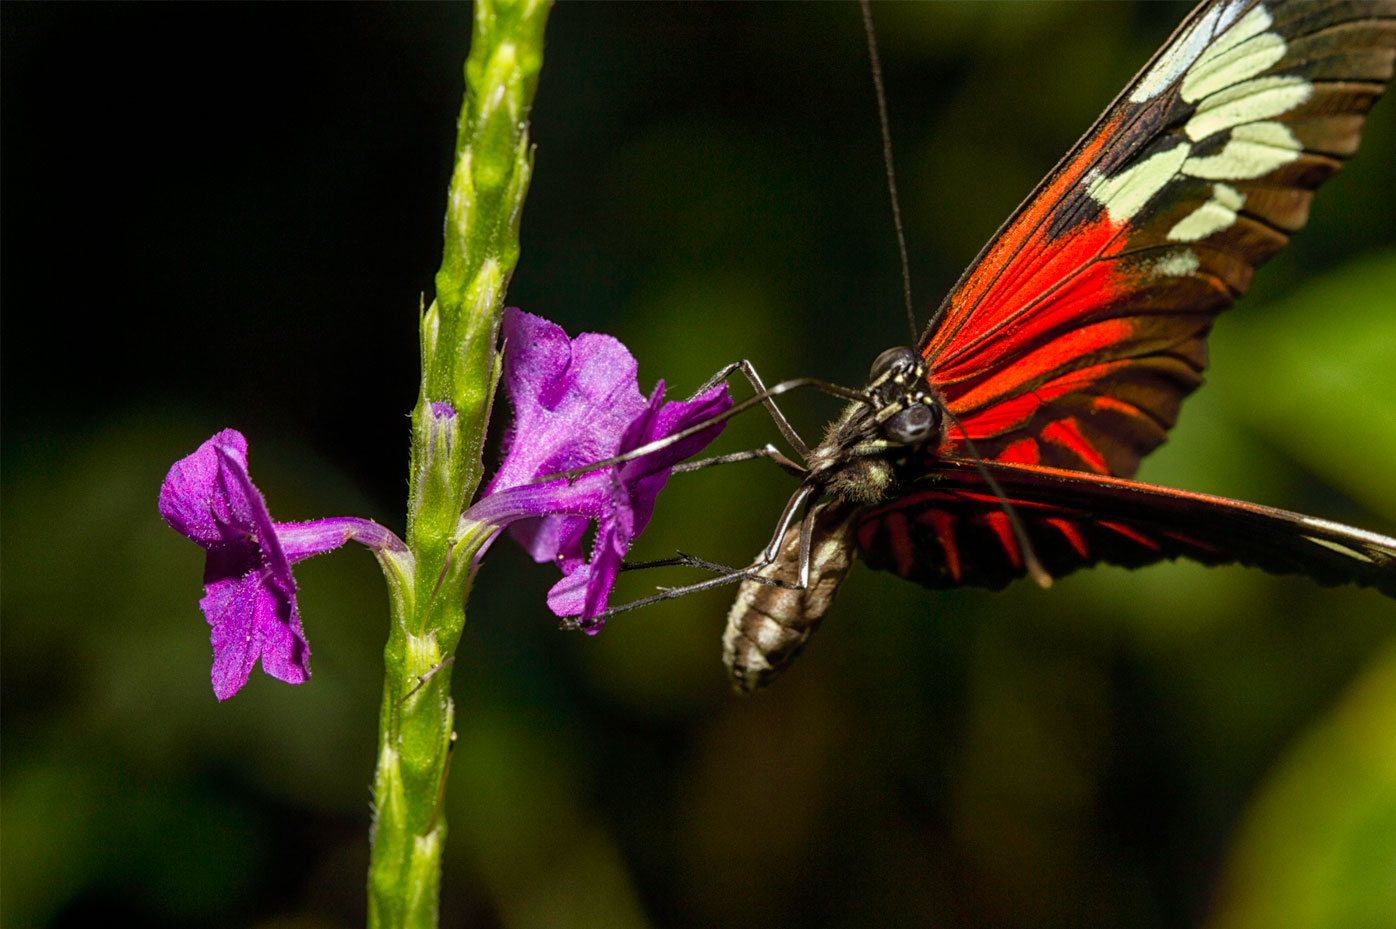
Macro Shots
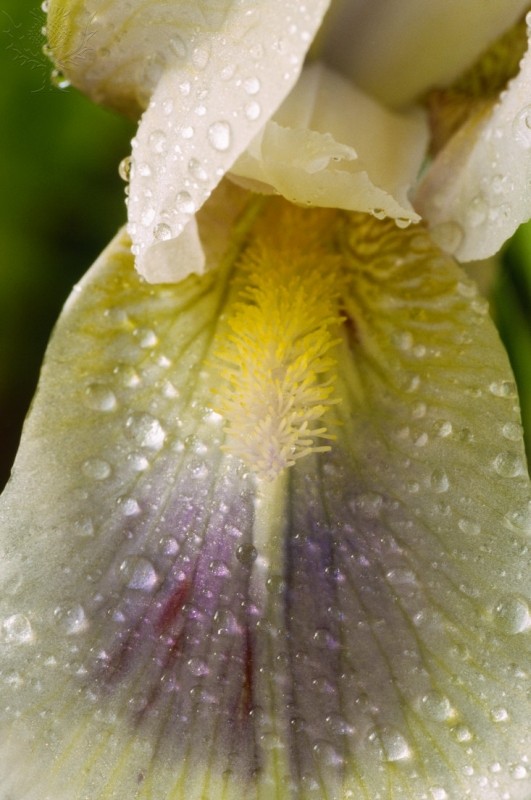
Macro photography is extreme close-up photography, usually of very small subjects, in which the size of the subject in the photograph is greater than life size (though macrophotography technically refers to the art of making very large photographs).
Action Shot
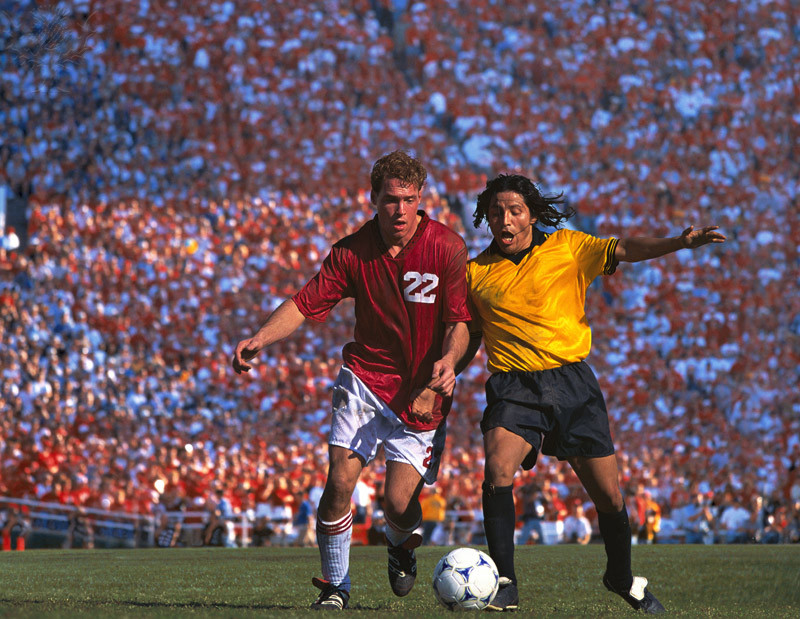
ActionShot lets you shoot any movement and turn it into a sequence shot. Capturing the course of an action in a single image, it gives you shots to show off. And the best part- with ActionShot, you can do it all from your iPhone.